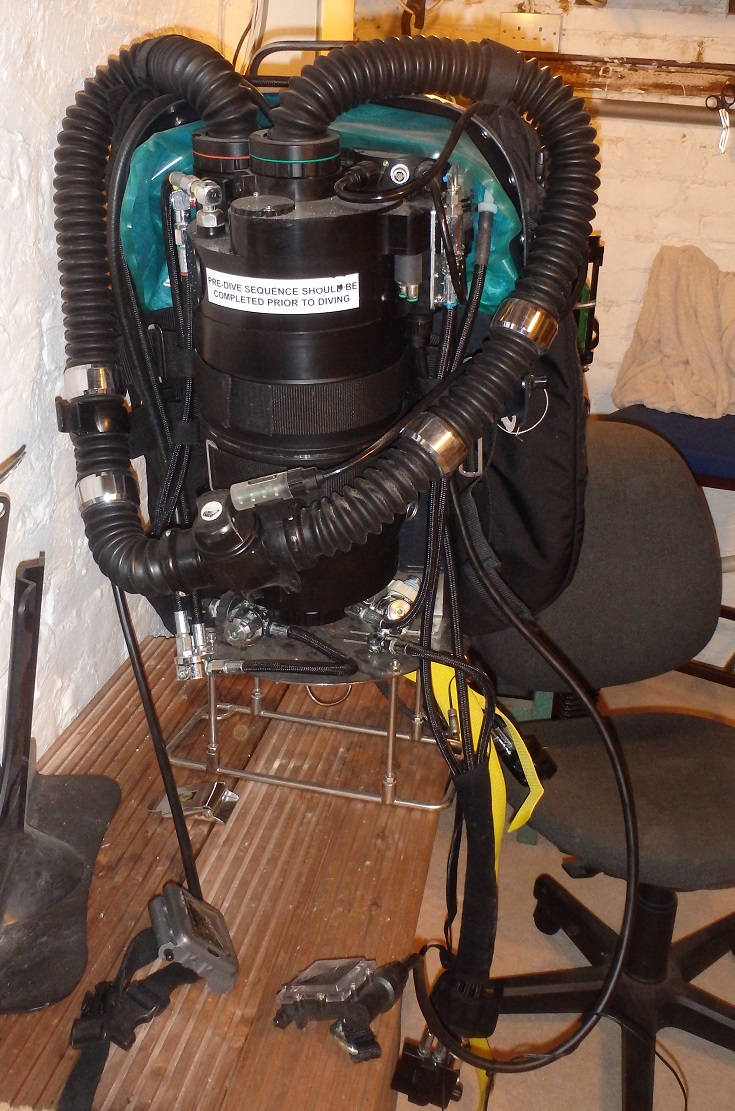
Sentinel Rebreather
These are some basic details on what I've got.
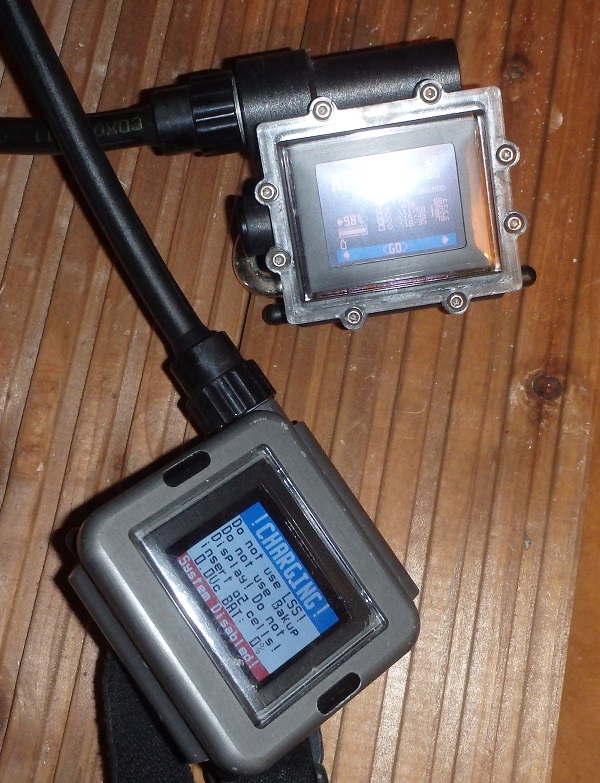
It is SN: 104 and it had the original opto mod but not the better later wired
one.
The cells are history and the HP sensors went silly so I put on the ordinary
SPGs from my OC kit for one trip and took them off afterwards. I haven't put
the opto-ones back or attempted to fault find what was up.
It has the old Posiedon(?) first stages and the OCB one is dodgy.
I've pinched the pocket and use it on my new Inspo so that's gone.
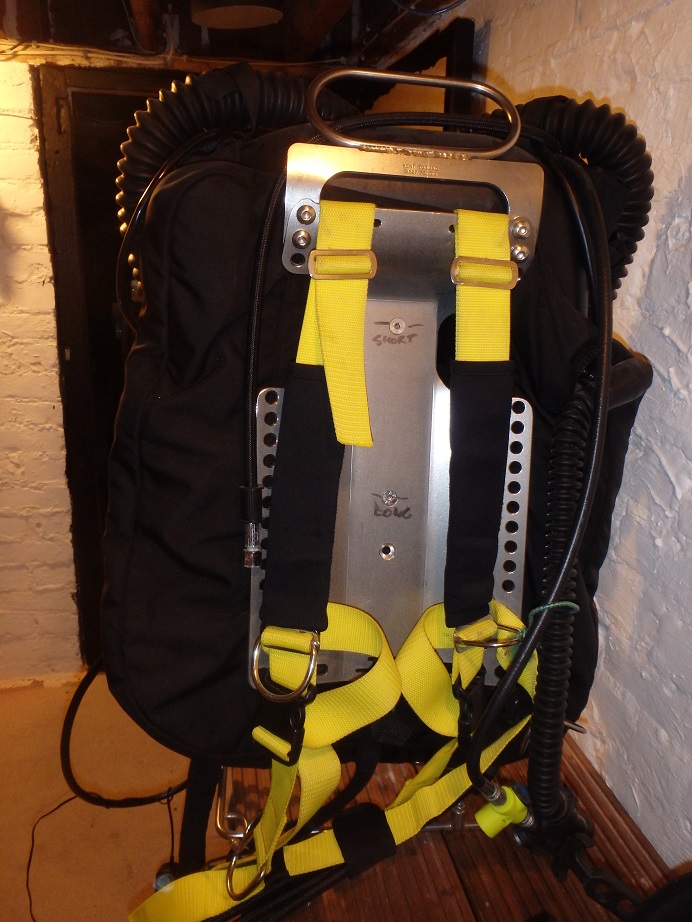
I experimented with stands and harnesses and it currently has a load of Kent
Tooling kit on it. This improved things but I have most the original bits, well
maybe not all the harness sections.
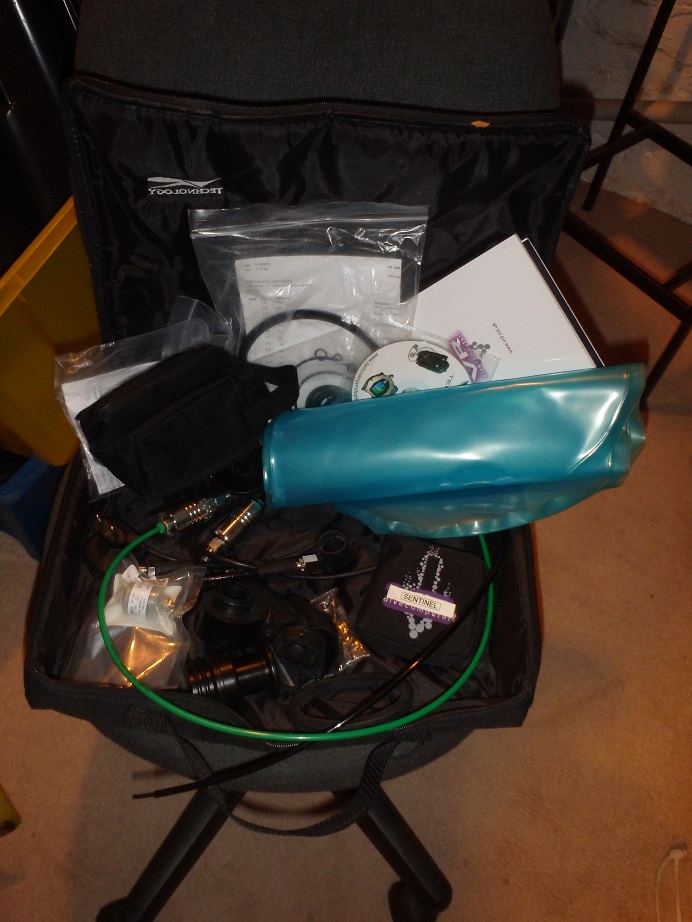
I even have the blue crate and the nice zip wallet to keep your spares in. Also
the download kit. I bought a lot of spares when I got it and they are still in
there.
Oh and the two cylinders will be out of test.


by Nigel Hewitt